Order in the next
00h 00m 00s
and your order leaves TODAY!


CatGenie Installation - Bathroom Setup
Attaching the T-Adaptor
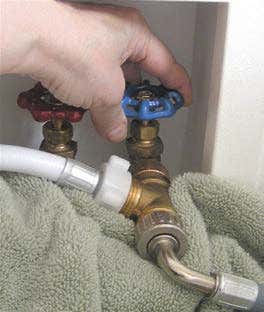
Step 1. Identify the cold water line and consider where you will place the waste hose
Common water conncetions are to the same line as your toilet or sink. The most popular place for the waste hose is the toilet.

Step 2. Shut off the cold water supply
Do this by shutting off the valve found on the toilet or sink water supply line.

Step 3. If you are using the same water supply line as your toilet, check that the water is off.
Flush the toilet until the water tank is empty.
![]()
Step 4. Unscrew the water line flex pipe at the valve.
You may need a tool to loosen the lock-nut connection.

Step 5. Connect and hand-tighten the small T-Adaptor lock-nut to the water line.
Note: Hand tighten only

Step 6. Connect the flex pipe to the T-adaptor and hand tighten the pipe's lock-nut.
Use a shifter for the last 1/4 turns

Step 7. Connect the CatGenie waterhose to the T-Adaptor and hand tighten its plastic lock-nut
Note: Hand tighten only! DO NOT use a tool to tighten the lock-nut.

Waste Hose Placement
Step 1. Attach the toilet hook to the waste hose
Push the long end of the toilet hook over the end of the waste hose. Push firmly together until the white tip at the end of the CatGenie waste hose is covered by the hook.

Step 2. Place the CatGenie toilet hook over the toilet bowl
Place the hook over the toilet bowl and lower the toilet seat. Check the seat has feet so that the hook is not squeezed when the toilet seat is down.

Ready, Set, RUN your CatGenie!
Step 1. Turn Water on and Check all Connections for any Leaks
Tighten any fittings that are dripping
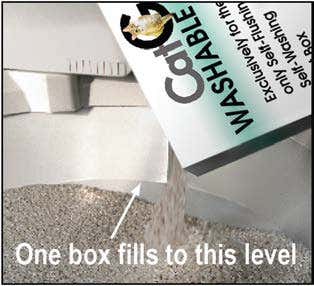
Step 2. Empty an Entire Box of Granules into the CatGenie Bowl
Note: Do NOT mix other cat litter with the Granules.
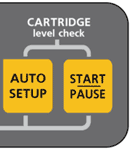
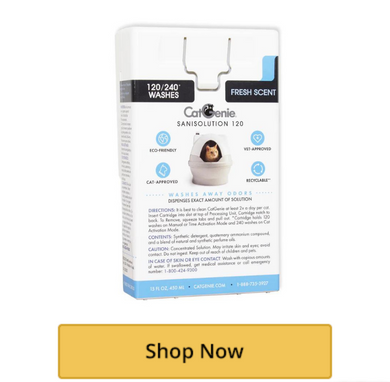
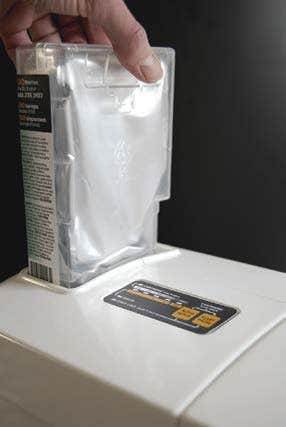
Step 3. Insert the SaniSolution Cartridge
Slide a SaniSolution cartridge in the top of the CatGenie unit.
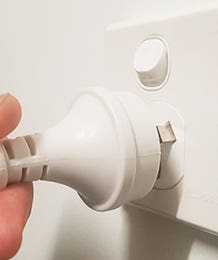
Step 4. Plug the CatGenie electric cord into a power socket
Flick the switch on
Step 5. When Plugged in, a Series of Light and Beeps
Once turned on.

Step 6. Press START/PAUSE
Once turned on.